This article applies to company admins and alpha tester employee types
The RDN template is a specialized importer profile building tool, created to simplify the process of exporting cases from RDN and importing them into RecoveryConnect. The template requires only the specific columns necessary to create cases in RecoveryConnect and will disregard any unnecessary columns in the import process.
Required Columns
Client Name
Lienholder
- Repo Type Note: The repo type must be from RDN, not RC.
Cond. Report
Conv to Repo
Field Visit
Impound Repo
Impound Voluntary
Investigate
Investigate/Repo
LPR Staging
Pictures
Repossess
Store
Tow
Transport
Vol. Repo
Status
VIN
First Name
Last Name
Address
City
State
Home Zip
Repo Date | Only required on closed/repossessed statuses.
Recovery Time | Only required on closed/repossessed statuses.
Disposition | Only required on closed/repossessed statuses.
Recovery Address | Only required on closed/repossessed statuses.
Recovery City | Only required on closed/repossessed statuses.
Recovery State | Only required on closed/repossessed statuses.
Recovery Zip | Only required on closed/repossessed statuses.
Storage Address
Storage City
Storage State
Storage Zip
Steps for RDN Clients
Within RDN, the user should build an export template that includes the above columns.
The file must then be exported in a .csv format. The importer will not accept any other file types.
Instructional Steps
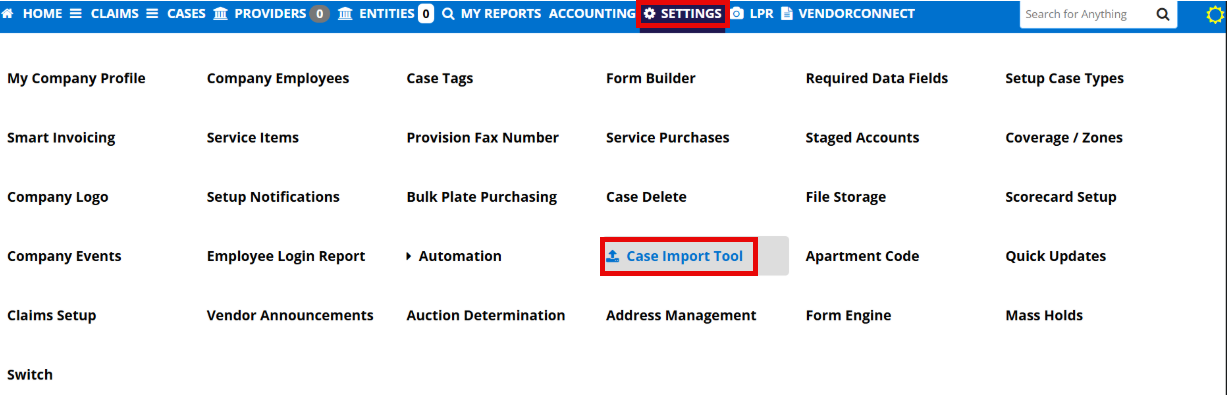
Step 1: Access the Case Importer Tool via settings.
Step 2: Select the + icon.

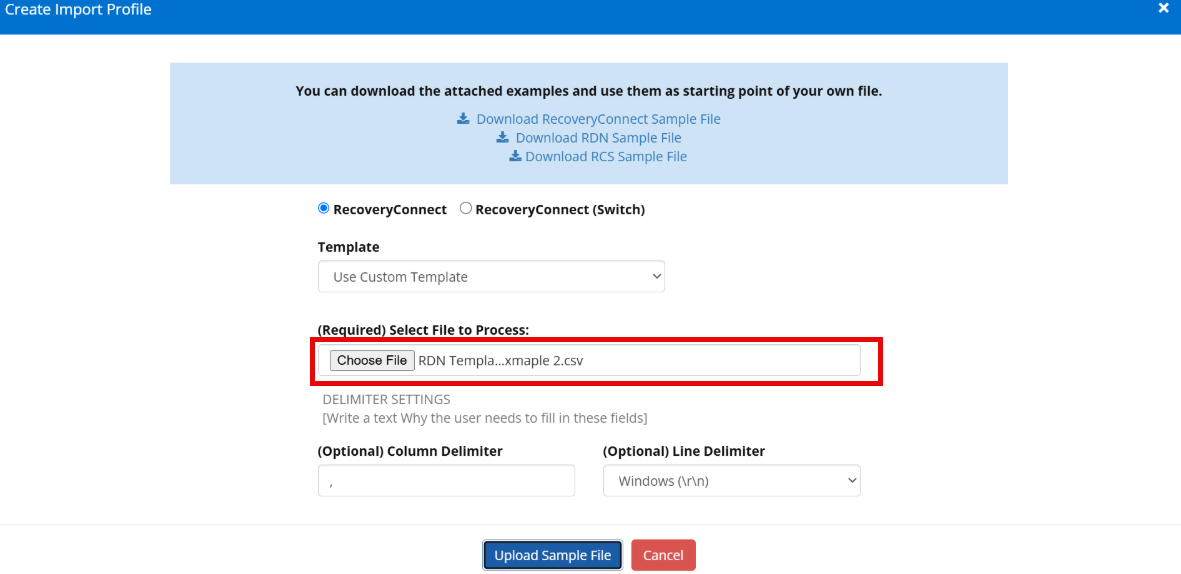
Step 3: Create Import Profile modal will appear. From here, the user can download the RDN Sample File to understand what the required columns are for upload and the expected file format (.csv).

Step 4: From this modal, ensure that RecoveryConnect is selected as the chosen importer. From there, choose the Template option and from the dropdown, choose RDN.

Step 5: Choose the file to be uploaded. Click Upload Sample File.
Step 6: Follow the steps below, beginning with: Assign to Service Provider.

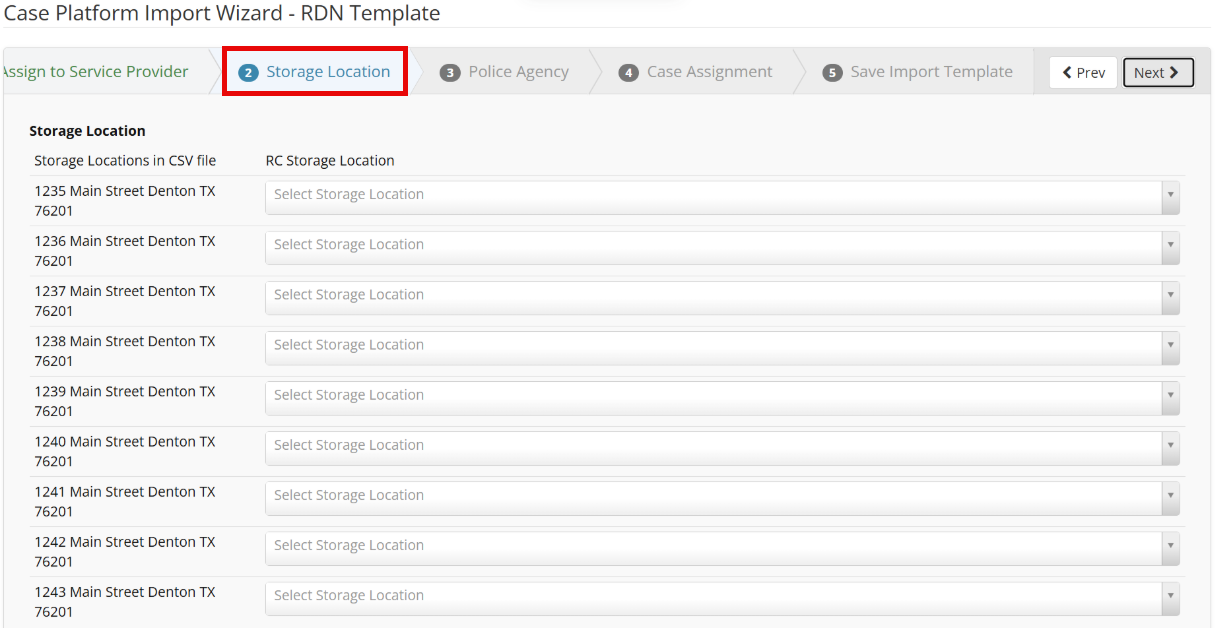
Step 7: Select Storage Location
Step 8: Assign Police Agency

Step 9: Case Assignment

Step 10: Create a Template Name.

Step 11: The new template is now created. Select Use Profile.

Step 12: Add the CSV to the upload modal. Process file.

Step 13: Click on History to review uploaded cases.
