This article applies to agency company admins
Step 1: In RecoveryConnect, navigate to Settings > Quick Updates

Step 2: Click the +Quick Updates button

Step 3: Fill out the Add a Quick Update pop-up form and click Add
Note: When the quick update gets added, it is automatically set as an active status ready to use in the app after you log out and log back into RCM.

Step 4: Click the Gear to the right for options
Note: You can change the order of the update list by clicking and dragging the position of the update

Set to Inactive - takes the update out of RCM but still be visible in RecoveryConnect if you want to reactivate it
Delete - deletes the update from both RecoveryConnect and RCM
Edit - allows you to edit the update
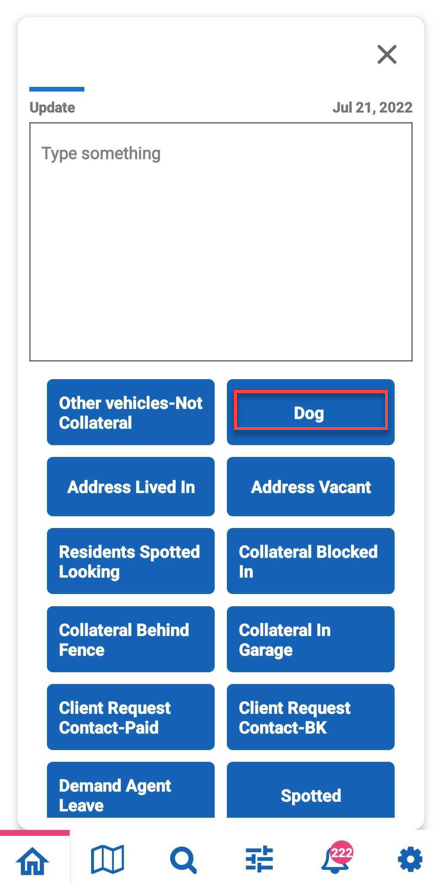
Active quick update:
When the quick update Set to Inactive no longer shows in the app
